
A Complete Guide to Restoring Interior Walls with Drywall and Paint
When severe weather rolls through the Willamette Valley, your home's exterior takes the brunt of the impact. Unfortunately, the aftermath of the prolonged rainy season often makes its way indoors. Whether it is a slow drip from an aging roof or sudden storm damage, water intrusion can wreak havoc on your ceilings and walls. Even after the exterior leak is fixed, homeowners are frequently left staring at unsightly water stains, peeling paint, or cracked sheetrock.
At M&R General Construction, we know that restoring your home's comfort means addressing both the outside and the inside. Once the exterior is secured, restoring your interior walls requires careful drywall repair and professional painting to bring your living space back to life. In this guide, we will walk you through the essential steps to completely restore damaged interior walls so they look as good as new.
Assessing the Damage and Preparing the Surface
The first and most critical step in wall restoration is assessing the extent of the damage. If moisture has penetrated the wall cavity, it is crucial to ensure everything is completely dry to prevent mold growth before any patching begins. This is a common challenge for homes dealing with our famous liquid sunshine.
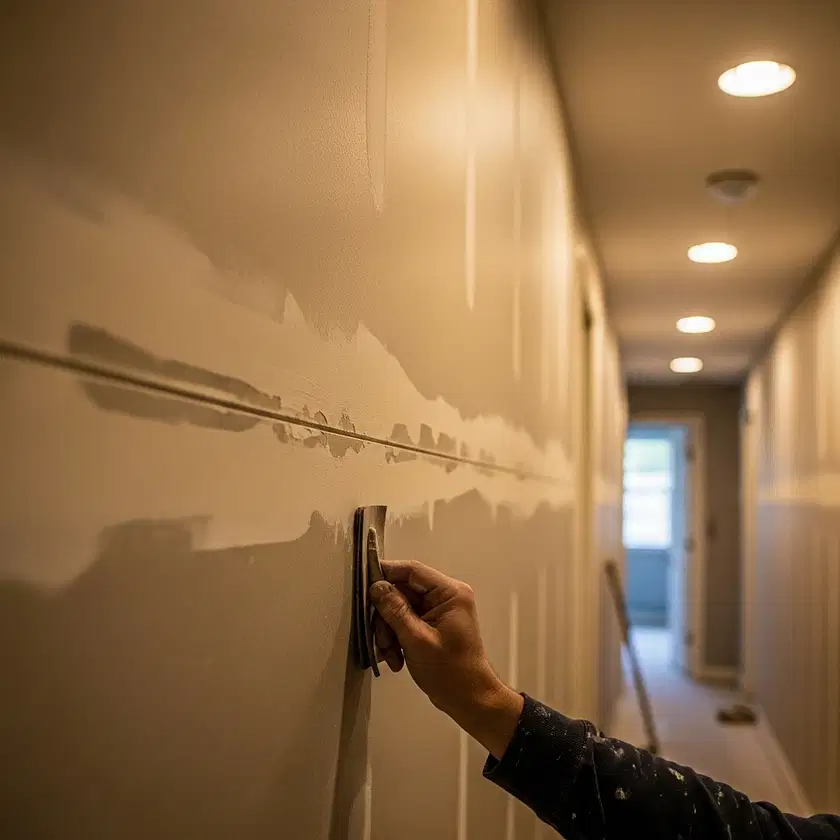
Once the area is dry and structurally sound, the damaged sheetrock must be cut away and replaced. For minor settling or stress fractures, repairing interior drywall cracks before repainting is relatively straightforward, involving specialized mesh tape and joint compound. However, larger holes or water-damaged sections require cutting out the compromised material and installing a new piece of drywall.
Achieving a flawless finish requires utilizing seamless drywall patching techniques for home walls. This involves multiple thin coats of joint compound, feathering the edges out widely so the transition between the new patch and the old wall is completely invisible to the eye. Proper sanding between coats ensures a smooth, even surface that is ready to accept primer and paint.
Texture Matching and The Final Paint Coat
One of the most challenging aspects of wall restoration is blending the new repair with the existing wall texture. Many homes feature specific wall finishes like orange peel, knockdown, or skip trowel. Fixing textured drywall damage and color matching paint requires a skilled hand to ensure the repaired area doesn't stand out like a sore thumb in the middle of your living room.
Once the texture is applied and fully cured, the wall must be primed. Primer seals the porous joint compound, preventing it from absorbing the topcoat unevenly. After priming, high-quality interior paint is applied. If it has been a few years since the room was last painted, spot-painting just the repaired area might leave a noticeable difference due to natural fading. In these cases, painting the entire wall from corner to corner is the best way to achieve a uniform, pristine look that truly restores the beauty of your home.
Bringing Your Home Back to Life
Dealing with home repairs can be stressful, especially when it involves coordinating multiple trades to fix a roof leak and the resulting interior damage. Choosing a contractor who understands the full scope of your home's envelope makes a significant difference. By properly addressing the root cause of the moisture and utilizing expert drywall and painting techniques, your walls can be completely restored without a trace of the previous damage.
Whether you need to fix a small crack or require extensive interior repairs after a major storm in Salem, our team is here to help. At M&R General Construction, we pride ourselves on delivering comprehensive solutions and high-quality craftsmanship you can trust. If you are ready to restore your home's interior, contact us today to schedule a consultation and see how we can bring your walls back to life.